

Concrete Coatings · Los Angeles
Floors built in layers.
Ground, repaired, base-coated, flaked and sealed under a clear topcoat. One system, laid down in order, on your garage floor.
Our Services
Epoxy and concrete coating systems for garages, living spaces, and commercial floors — installed with proper surface prep so the finish actually lasts.
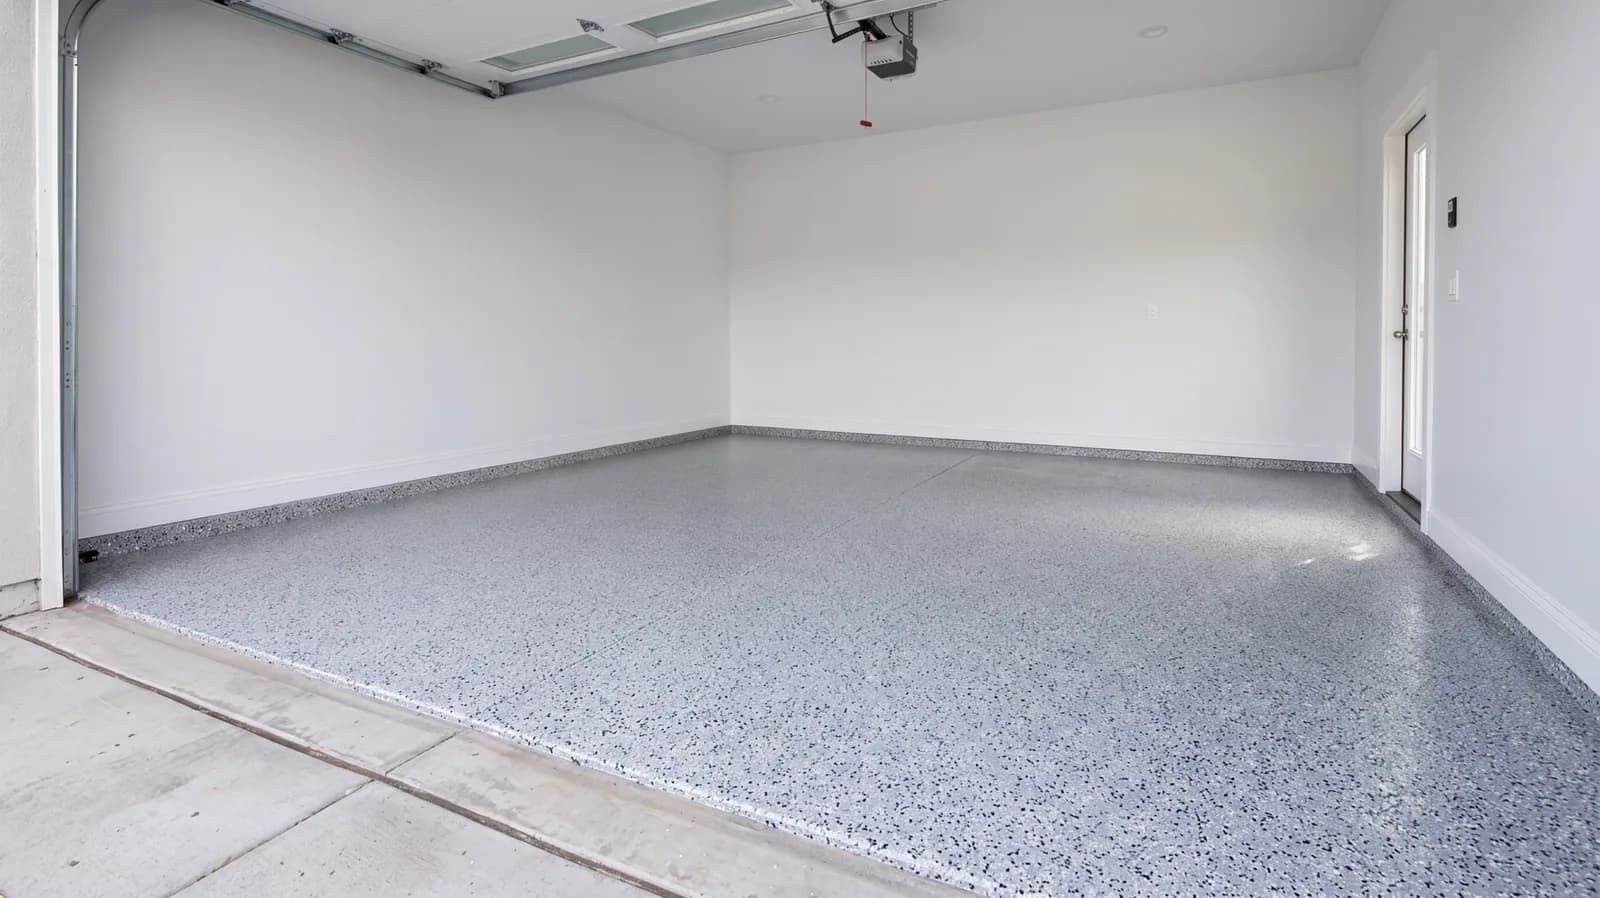
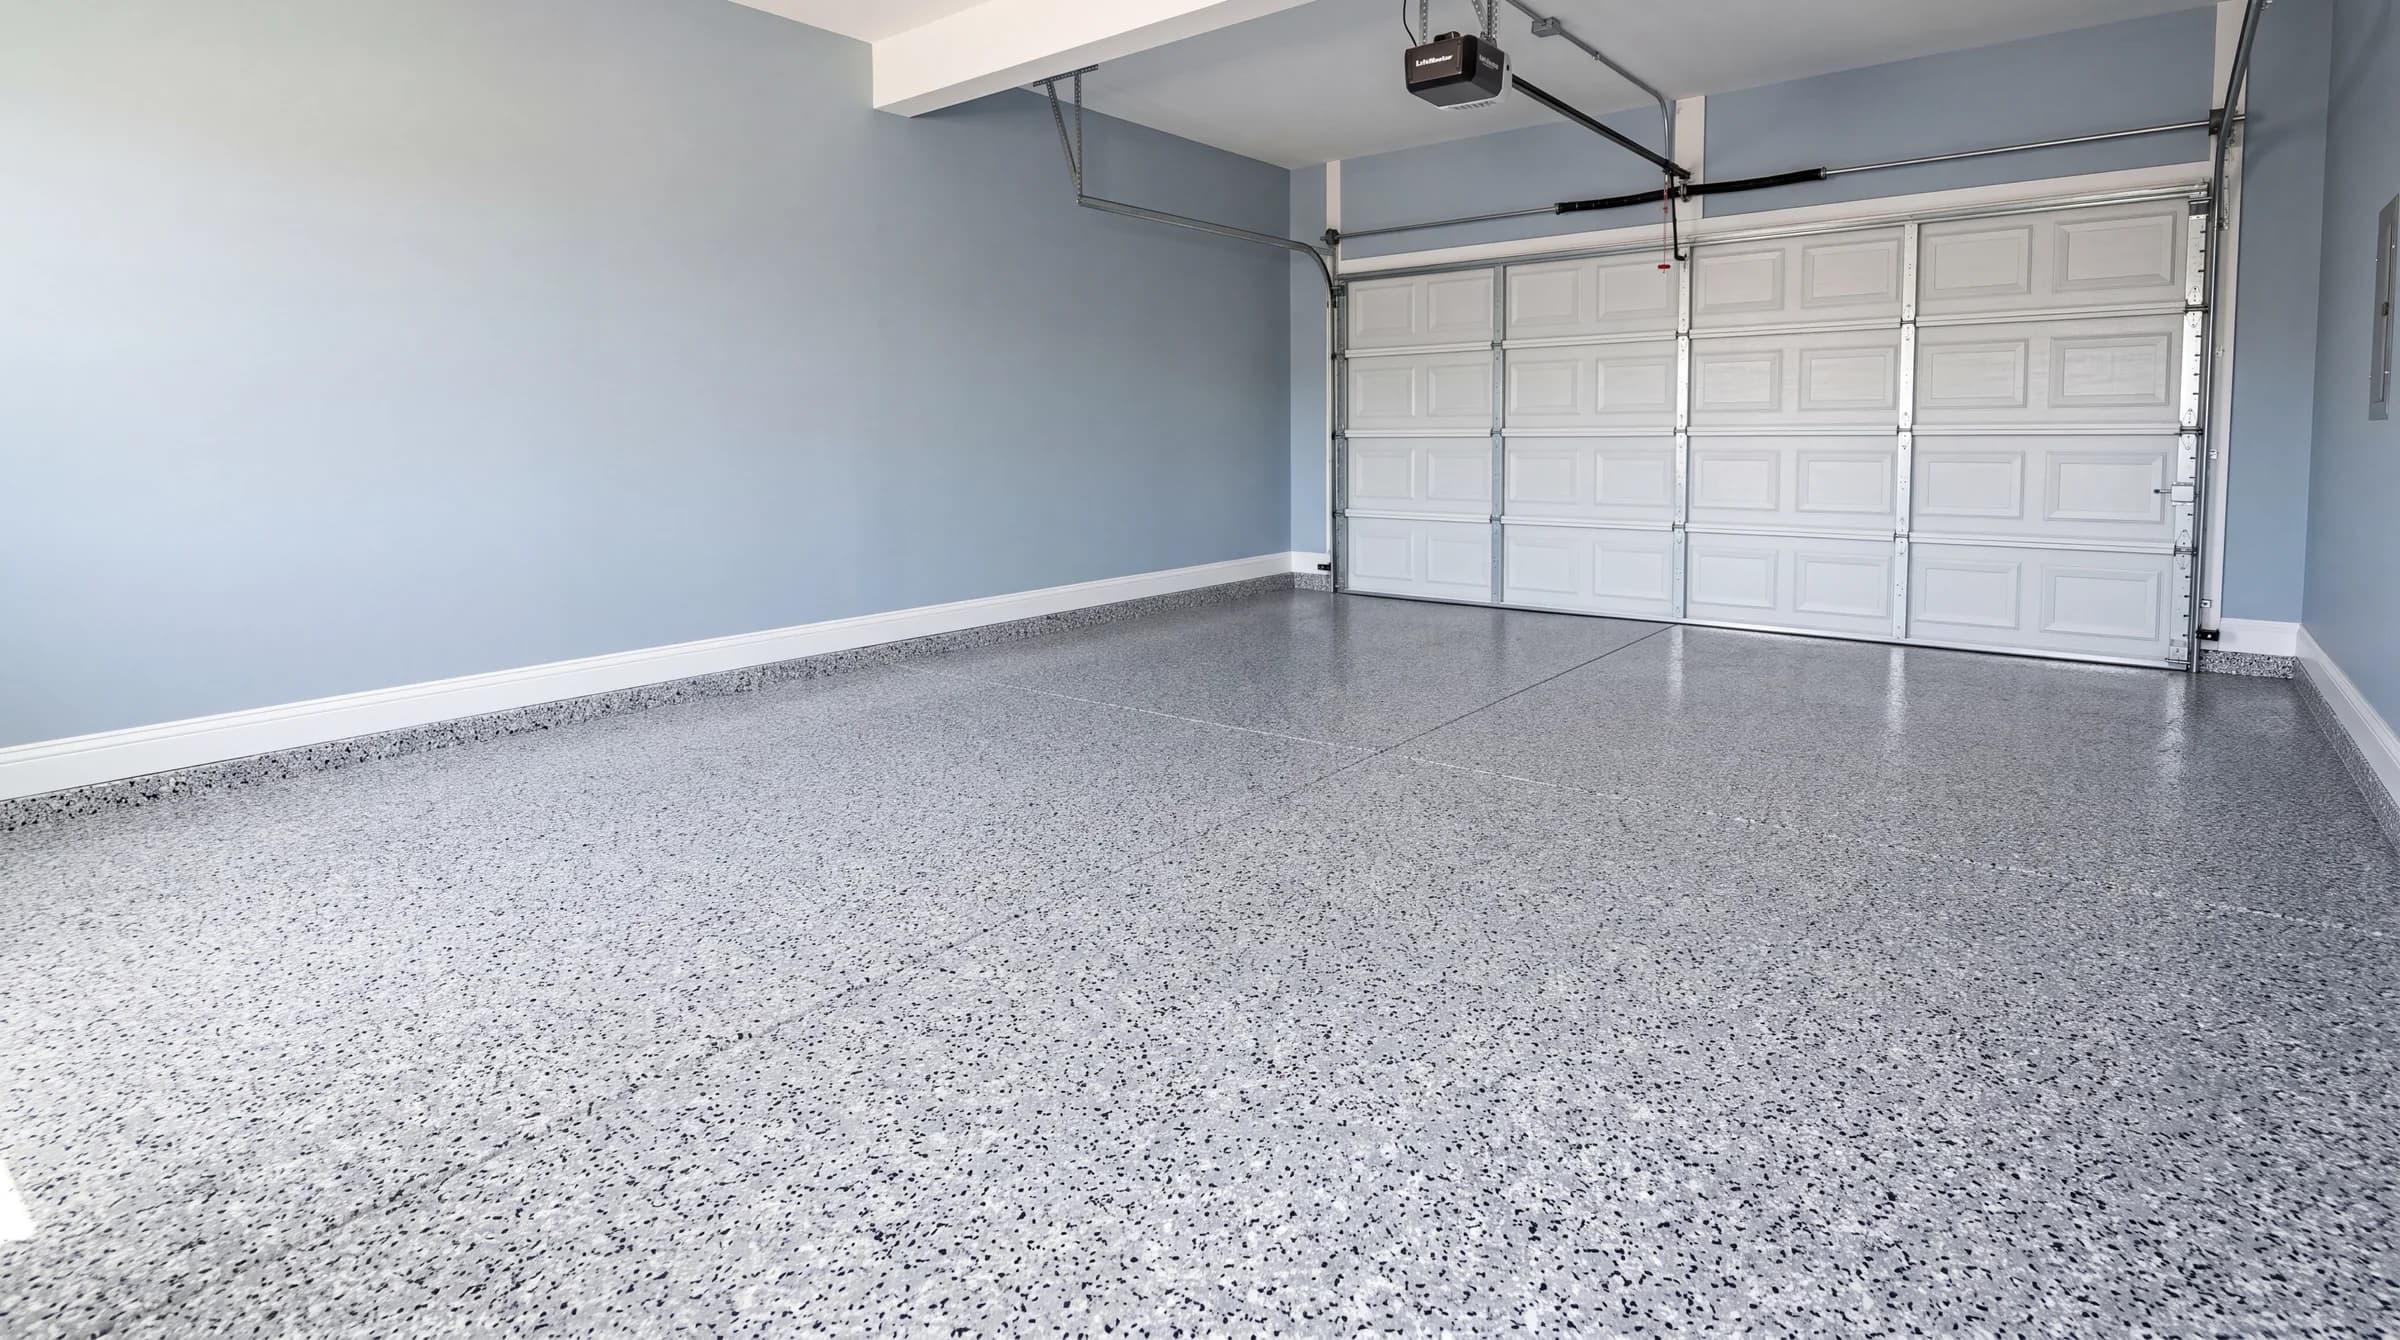
Garage Epoxy Flooring
Flake-system epoxy built to handle tires, tools, and daily traffic without losing its shine.
Learn More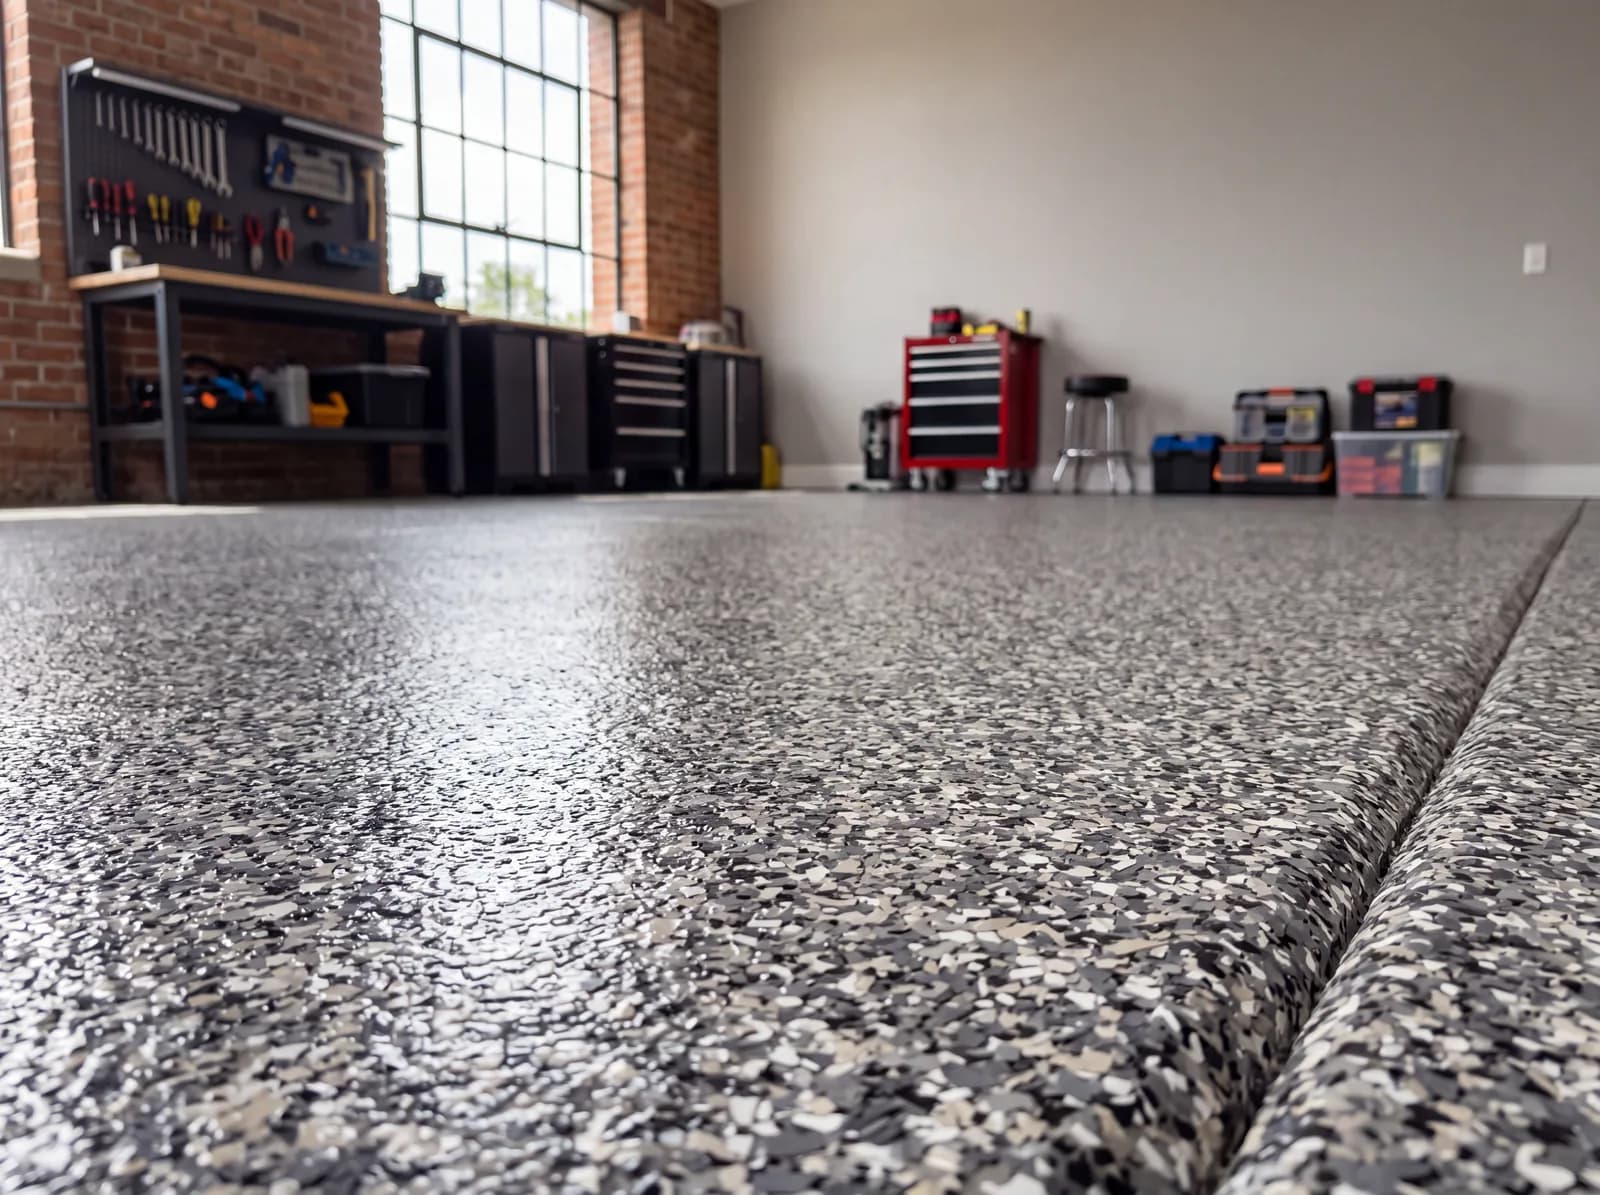
Epoxy Flake Systems
Decorative color flake blended into the coating for texture, grip, and a custom look.
Learn More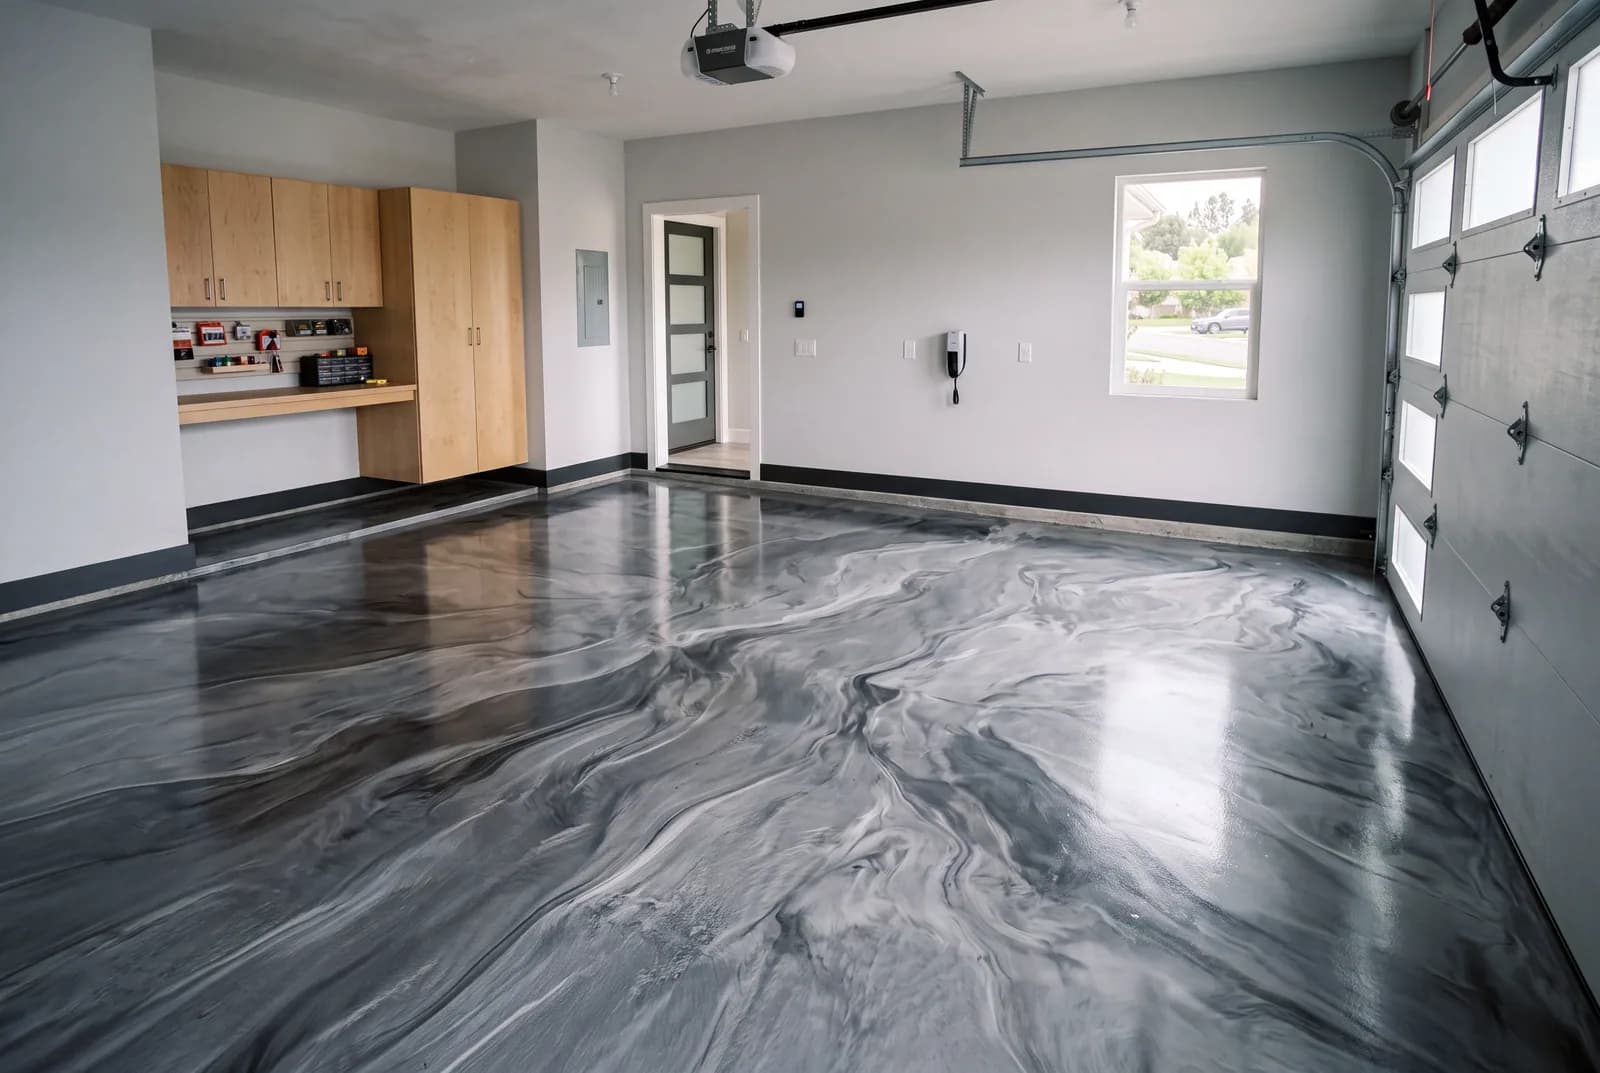
Metallic Epoxy Flooring
A reflective, marbled finish that turns a plain floor into the focal point of the room.
Learn More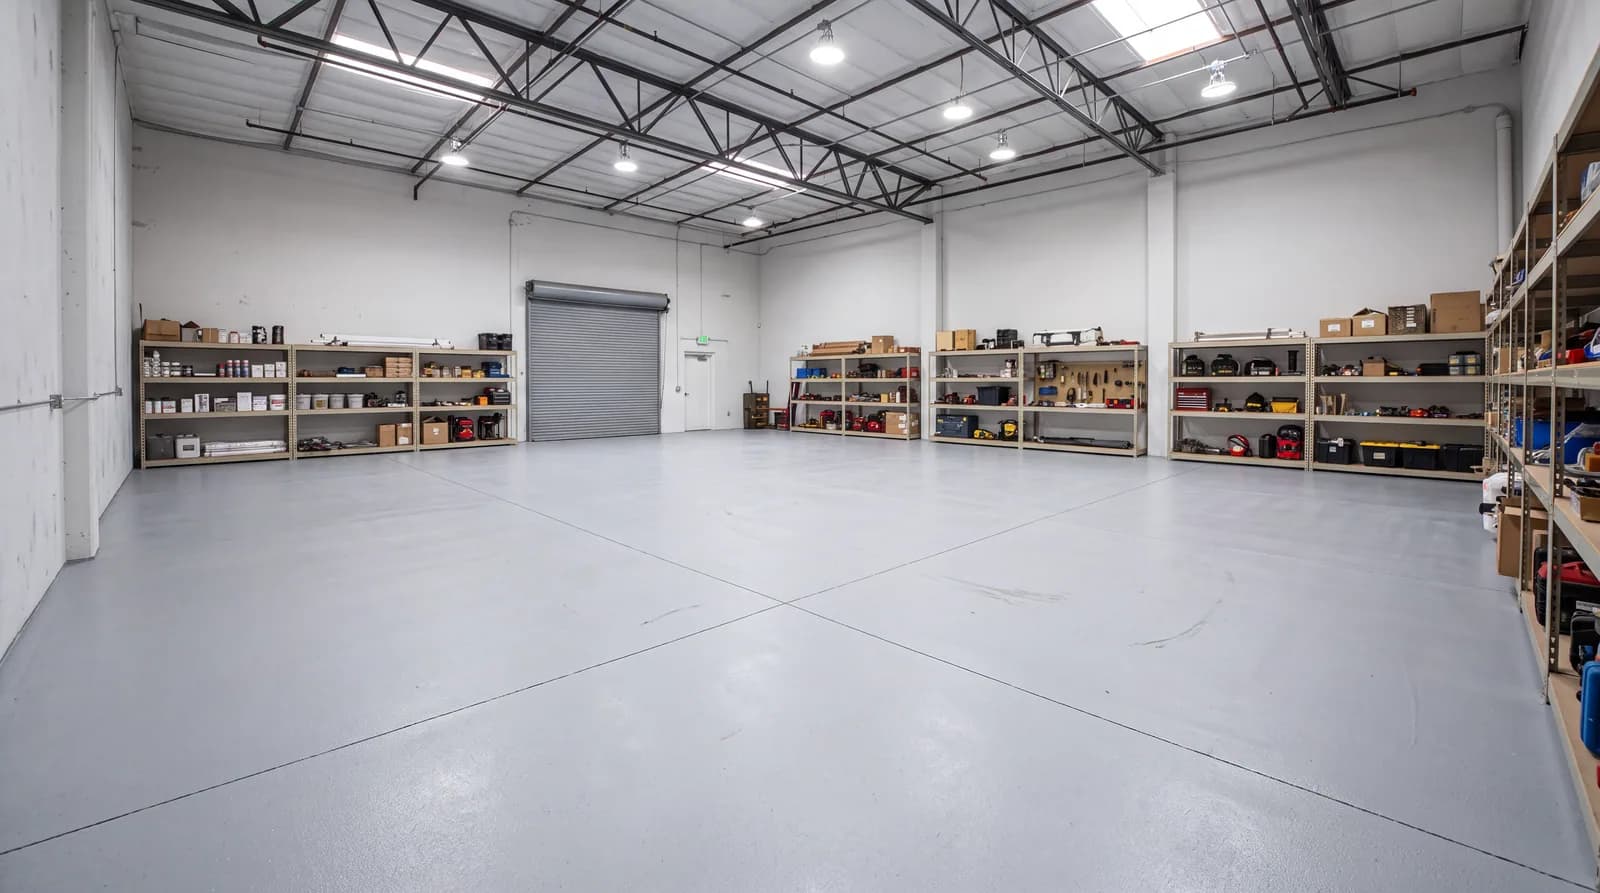
Commercial Epoxy Flooring
Durable coatings for warehouses, commercial kitchens, and high-traffic business spaces.
Learn MoreWhy Choose Us
Proper Surface Prep
Every job starts with grinding and repairing the concrete so the coating bonds correctly instead of peeling later.
Custom Color & Flake Options
A range of solid colors and decorative flake blends so the finish actually fits your space, not a one-size-fits-all look.
Residential & Commercial
From garage floors to warehouses and commercial kitchens, we scope the coating system to how the space actually gets used.
Clear Communication
You'll know what's happening at each step — from the estimate through the final walkthrough.
Sealed Under a Topcoat
Every system is sealed under a clear protective topcoat, which is what protects the color and the concrete underneath it.
Easy to Maintain
A sealed, coated floor is far easier to sweep and clean than bare or damaged concrete.
The System
Three layers, built in order.
A coated floor is not paint. It is a system built up over prepared concrete, and every layer has a job.
Pigmented base coat
Rolled onto the opened concrete in one controlled pass. It bonds into the slab rather than sitting on top of it, and carries the floor's colour.
Decorative flake
Broadcast by hand into the wet base coat, then scraped back flat. Beyond the look, the texture is what gives the finished floor its grip.
Clear topcoat
The sacrificial layer. It takes the abrasion, the chemicals, and the UV so the colour underneath it does not.
Built in this order, the finished system seals the slab against oil, road salt, and hot tires, resists chipping under dropped tools, and gives you a surface that sweeps clean instead of staining.
Before & After
Drag the slider to see how proper surface preparation and coating transform a concrete floor.
 After
 Before
Drag, swipe, or use the arrow keys to compare.
Customize Your Floor
Floor Colors
Flake blends, metallic finishes and solid colours from the supplier chart. Screens shift colour, so use this to narrow it down, then decide against a physical sample.
Decorative Flake
Broadcast 1/4" flake blends — colour and texture in one system, sealed under a clear topcoat.
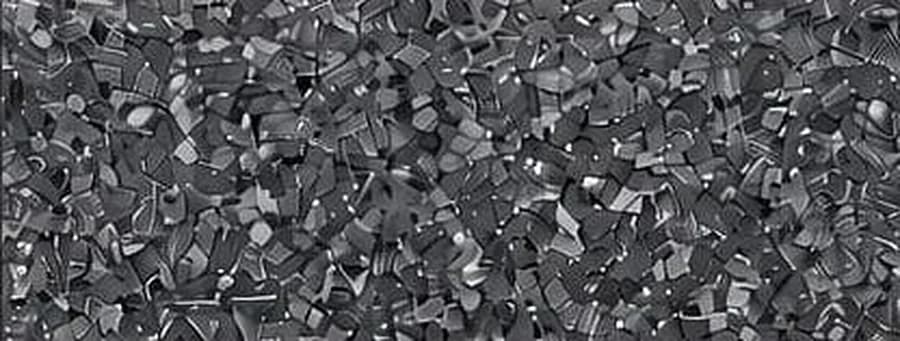
Basalt 1/4"
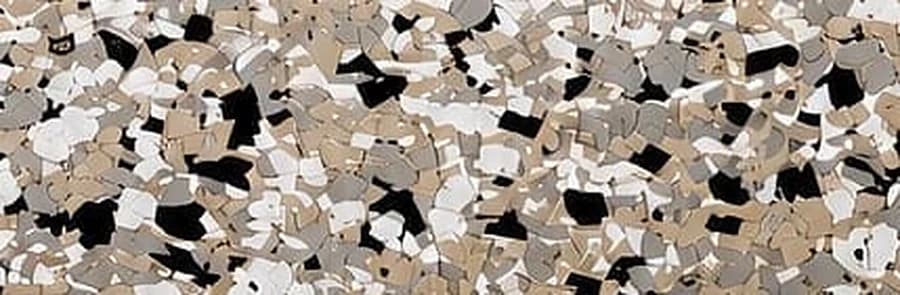
Cabin Fever 1/4"
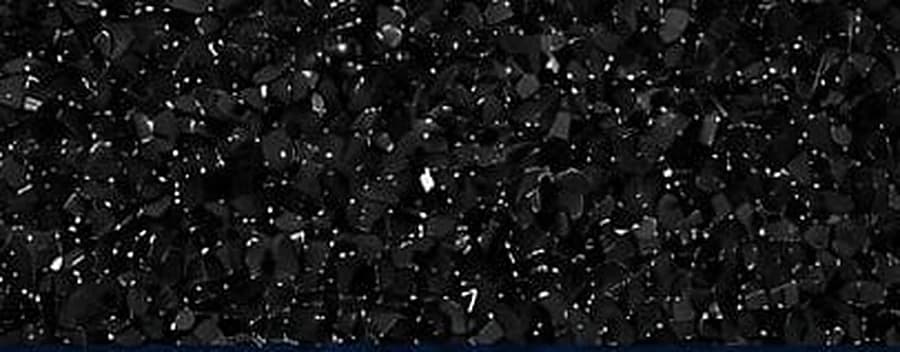
Carbon 1/4"
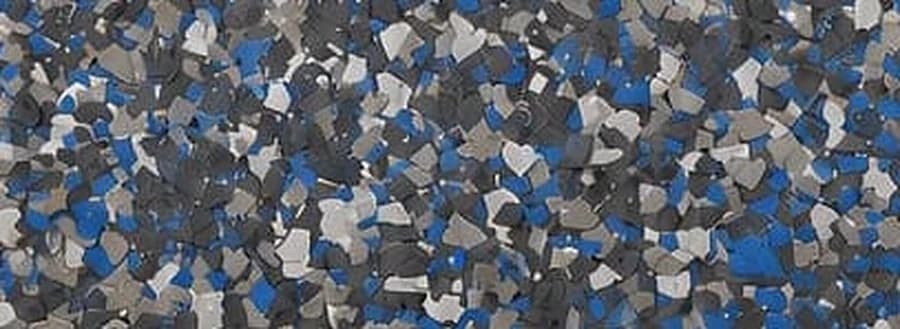
Cashmere 1/4"
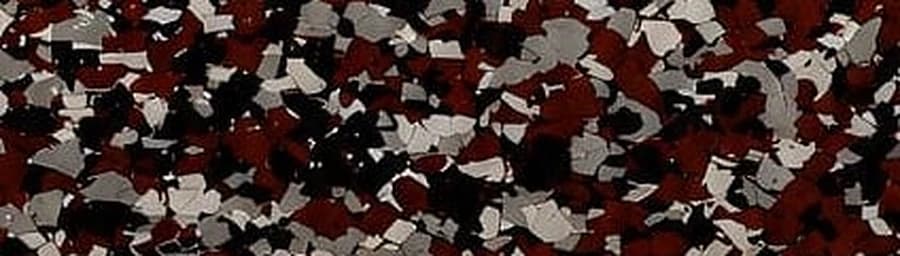
Cobblestone 1/4"
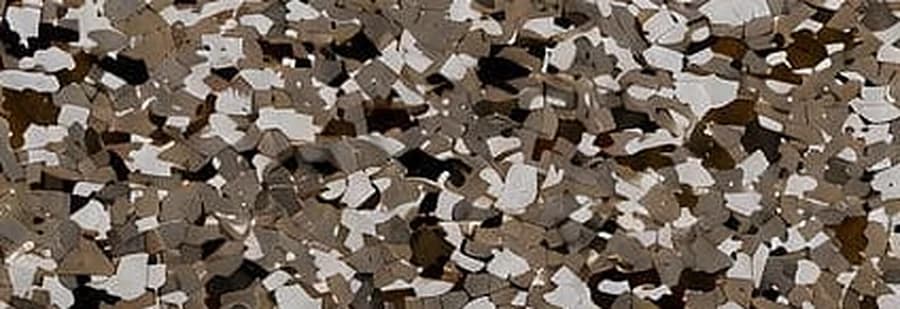
Creekbed 1/4"
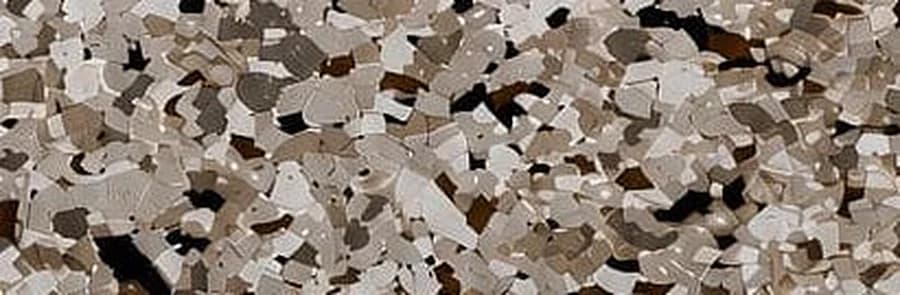
Dakota Grey 1/4"
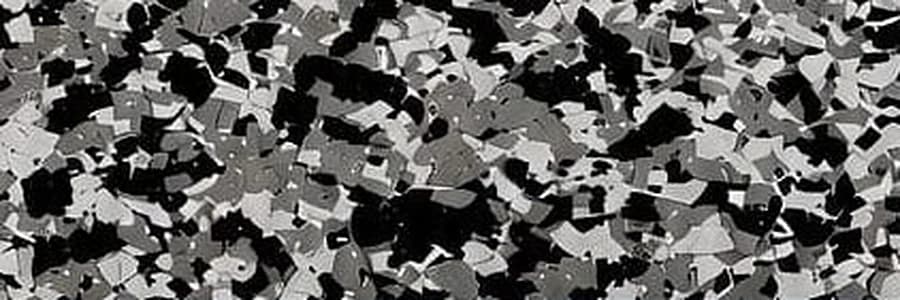
Domino 1/4"
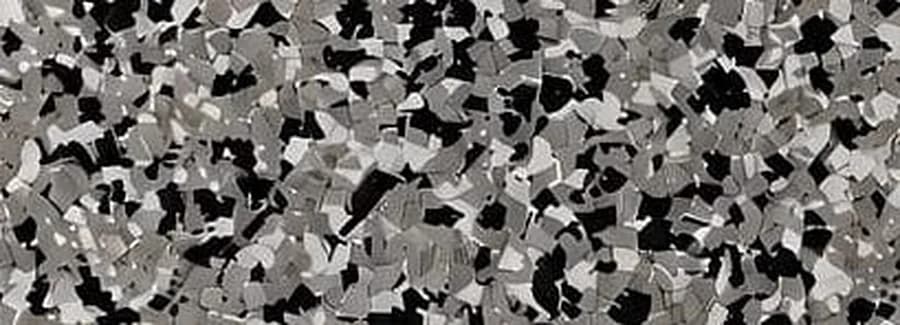
Gravel 1/4"
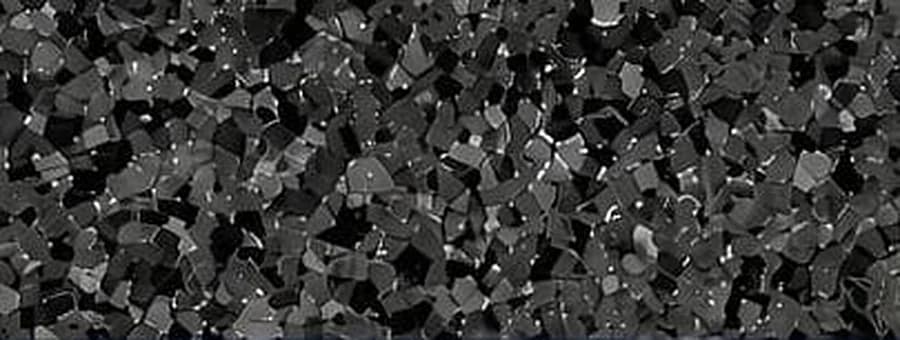
Nightfall 1/4"
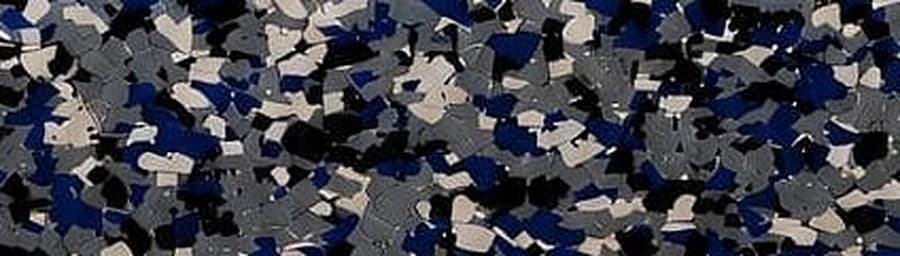
Orbit 1/4"
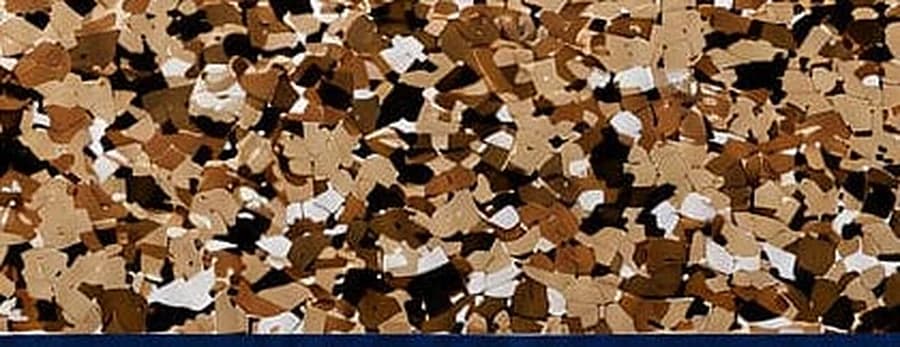
Outback 1/4"
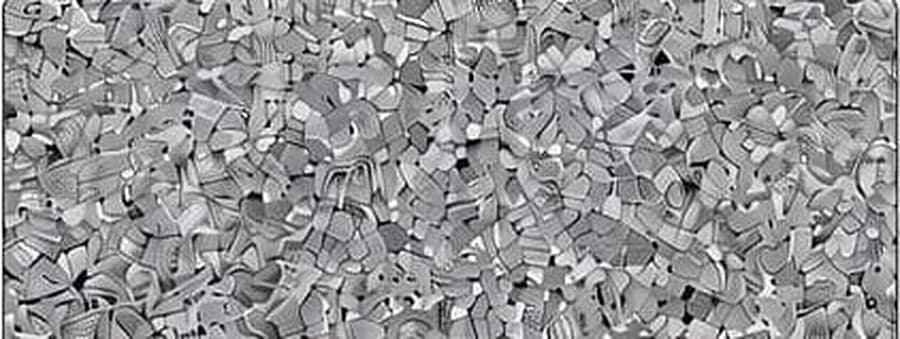
Schist 1/4"
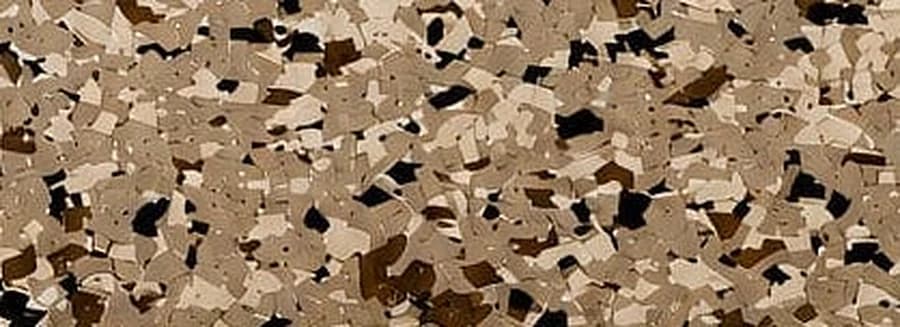
Shoreline 1/4"
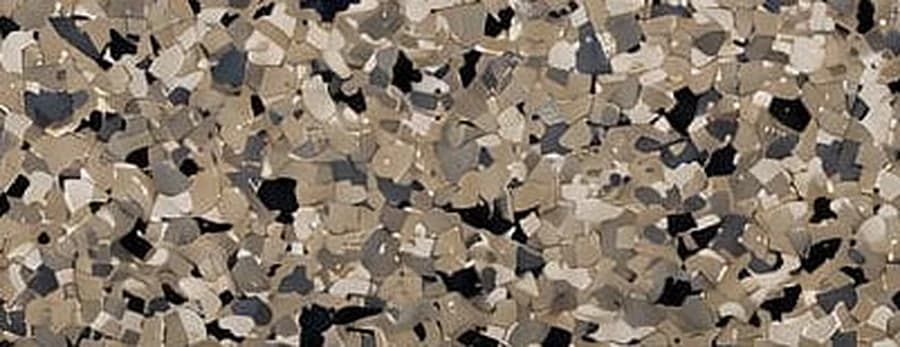
Tidal Wave 1/4"
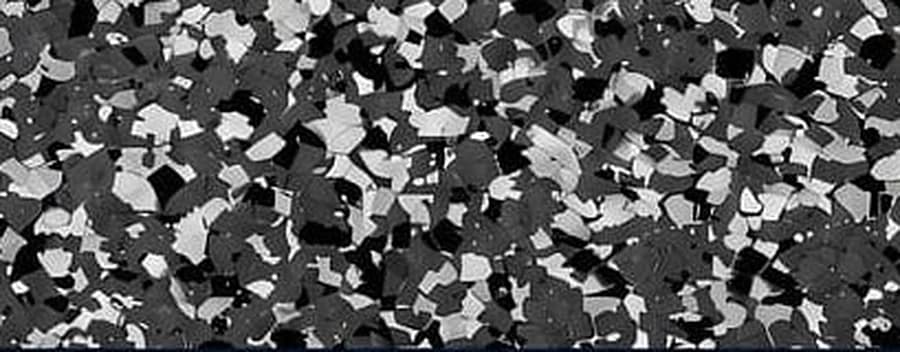
Wombat 1/4"
Metallic Epoxy
Poured metallic pigments that move as the floor cures, so the veining in your floor exists once.

Black Metallic

Blue Steel Metallic
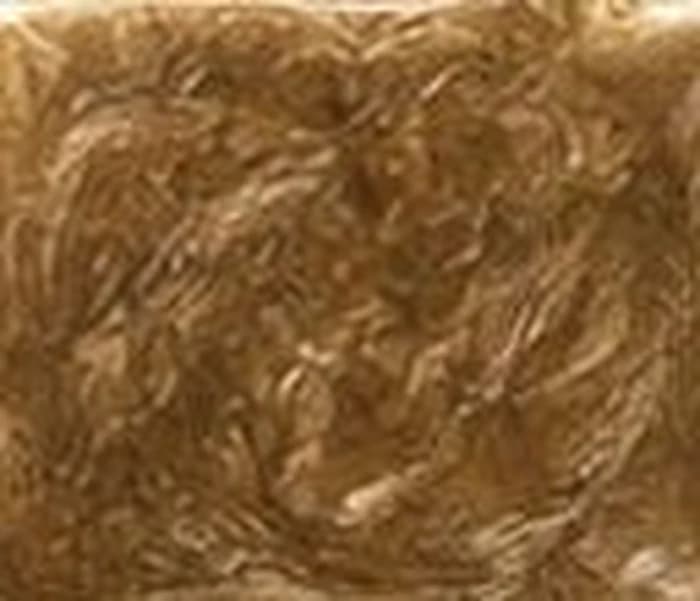
Bronze Metallic
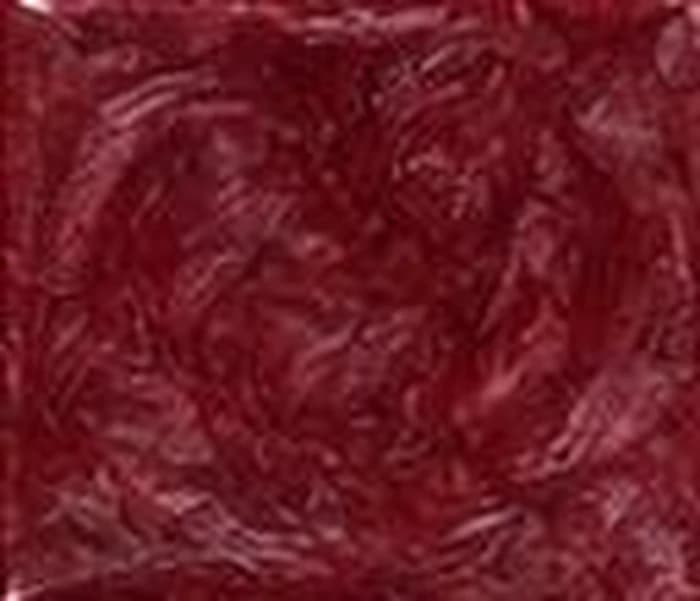
Burgundy Metallic
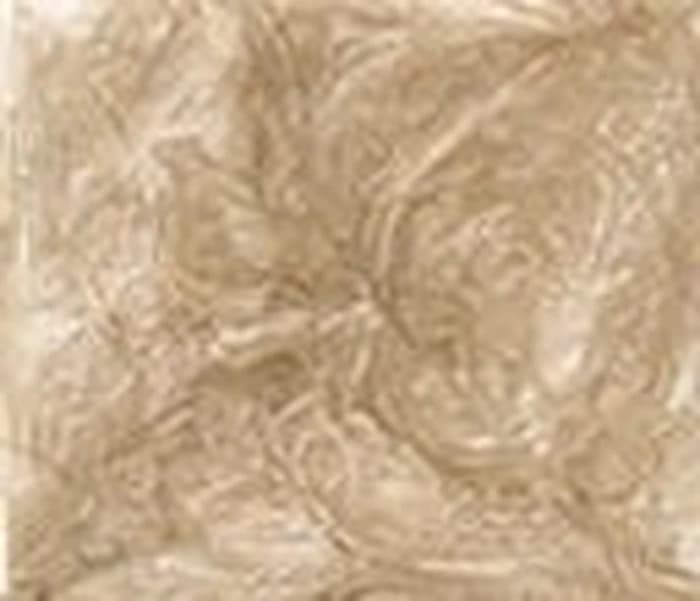
Champagne Metallic
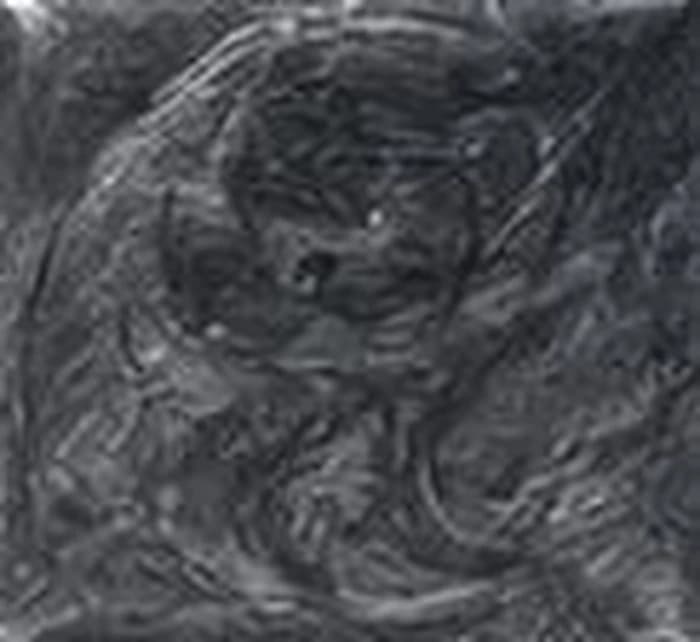
Charcoal Metallic
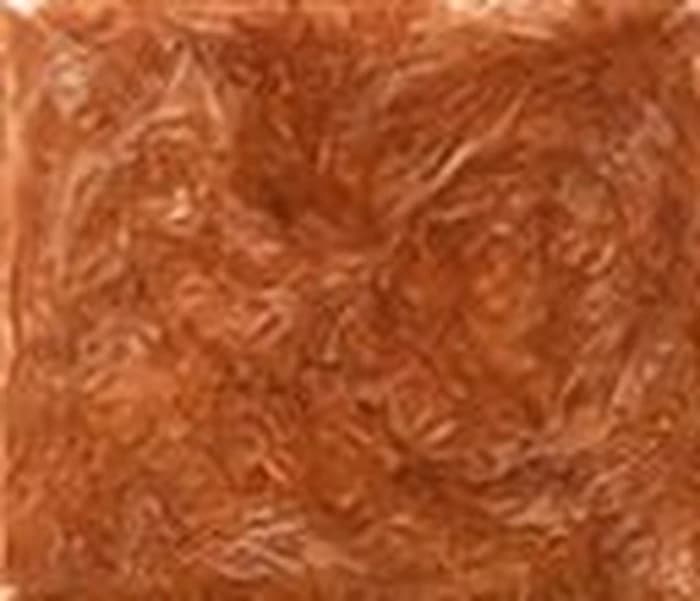
Copper Metallic
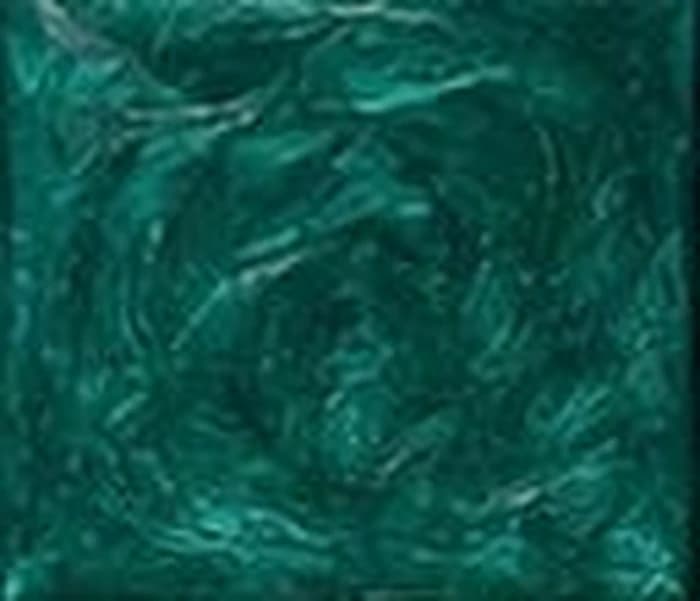
Emerald Metallic
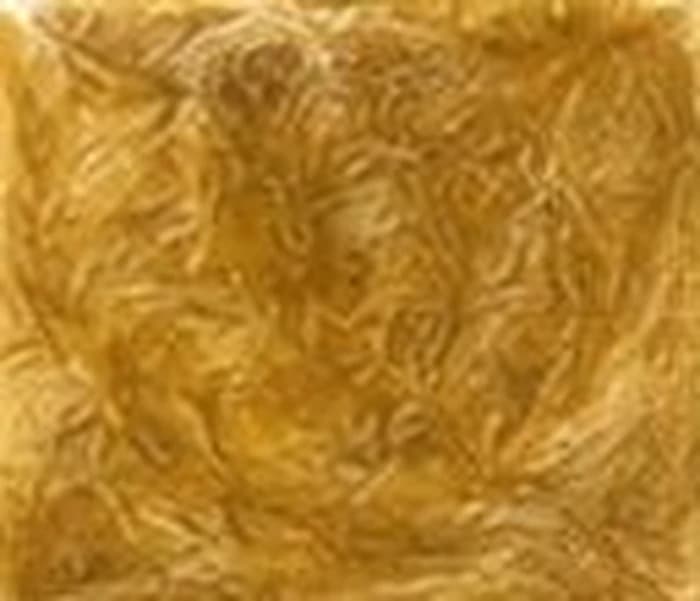
Gold Metallic

Ocean Blue Metallic
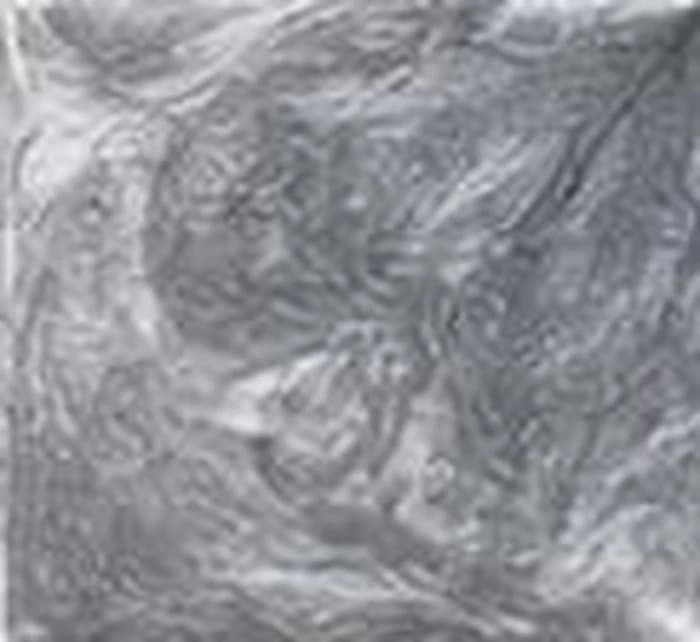
Pewter Metallic

Purple Metallic
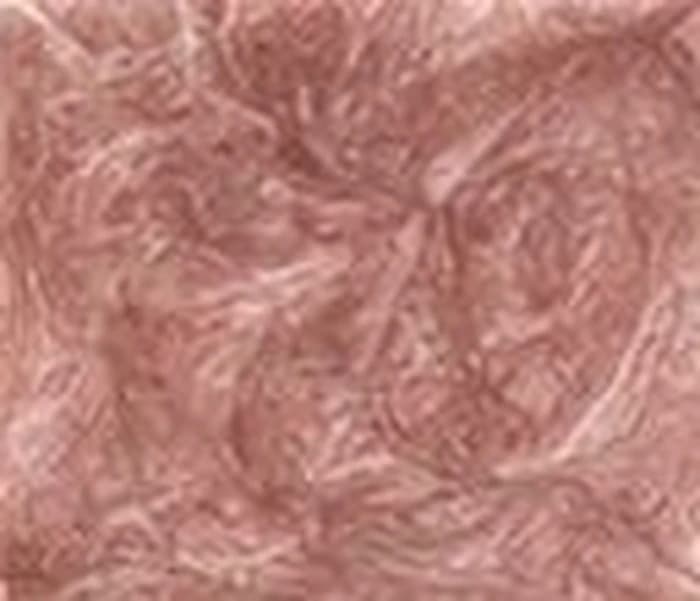
Rose Gold Metallic

Royal Blue Metallic
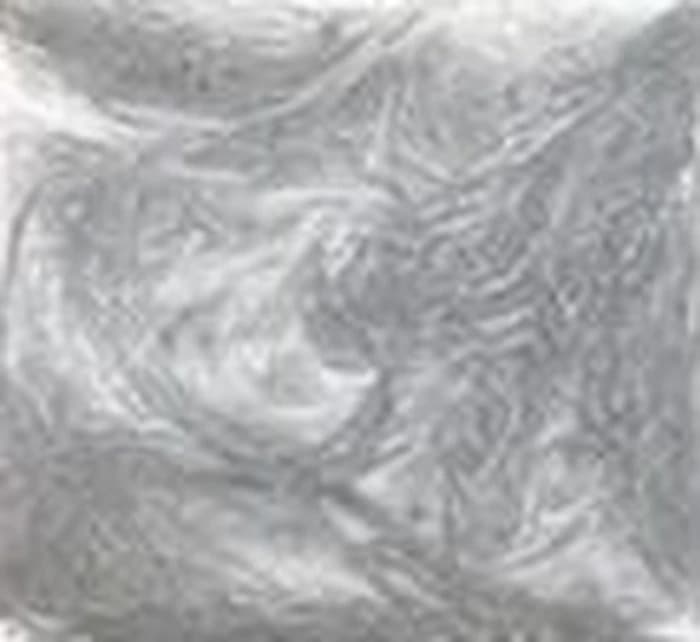
Silver Metallic

Steel Grey Metallic
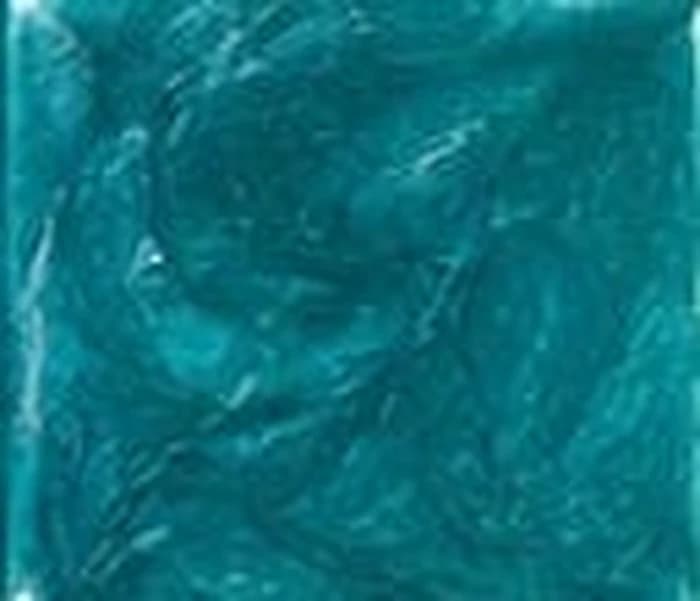
Teal Metallic
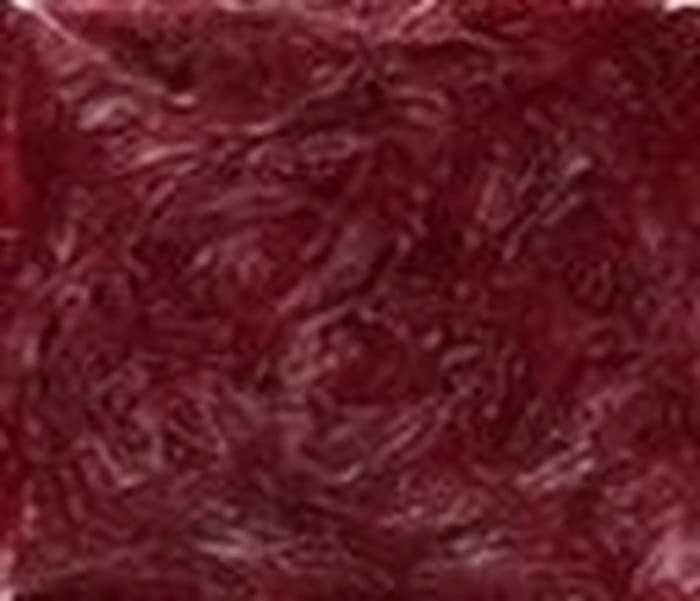
Wine Metallic
Solid Color
Flat, uniform coating colours — a clean, even finish for garages, showrooms, and commercial floors.

Beige

Black

Bright Red

Brown

Burgundy

Charcoal

Dark Brown

Deep Blue

Dove Grey

Emerald Green

Forest Green

Ivory

Light Grey

Medium Grey

Navy Blue

Orange

Pearl White

Pink

Purple

Royal Blue

Safety Yellow

Sahara

Silver Grey

Sky Blue

Slate Blue

Tan

Teal Green
Our Process
Six stages of a typical flake-system install, from the first call to the finished floor.
- 1
Request an Estimate
Tell us about your space and we'll schedule a time to take a look and talk through options in person.
- 2
Diamond Grinding
We mechanically grind the slab to open up the concrete so the coating can bond to it instead of sitting on top.
- 3
Crack & Joint Repair
Cracks, pits, and control joints get filled and repaired before any coating goes down.
- 4
Base Coat
The pigmented base coat is rolled onto the prepared slab in a controlled, even layer.
- 5
Flake Broadcast
Decorative flake is broadcast by hand into the wet base coat, then the excess is scraped back for a consistent texture.
- 6
Clear Topcoat & Walkthrough
A clear protective topcoat seals everything in, then we walk the finished floor with you and go over simple care tips.
Frequently Asked Questions
How long does an epoxy floor installation take?
Most garage and residential floors are completed within a few days, depending on the size of the space, the coating system chosen, and how much surface repair the concrete needs. We'll give you a specific timeline during your estimate.
How soon can I use the floor after installation?
Cure times depend on the specific coating system used and the conditions in your space. We'll walk you through exact timing for foot traffic and vehicle traffic during your project so you know what to expect before we start.
How much do epoxy floor coatings cost?
Pricing depends on square footage, the condition of your existing concrete, and which coating system and colors you choose. We provide estimates so you get an accurate number for your specific space.
How do I clean and maintain an epoxy floor?
Routine sweeping and occasional mopping with a mild cleaner is typically all it takes. Coated floors are considerably easier to keep clean than bare or damaged concrete.
Can you coat damaged or cracked concrete?
In most cases, yes. Surface prep and repair is part of every job — we grind, patch, and address cracks before any coating goes down so the finish bonds properly and looks right.
How is this different from a big-box store epoxy kit?
The difference is almost entirely in the preparation and the materials. A kit relies on an acid etch rather than mechanical grinding, and uses a thinner single-coat product. We grind the slab, repair it, and build up a multi-layer system sealed under a separate topcoat.
Ready for a Floor That Actually Holds Up?
Request an estimate for your garage, home, or business in Los Angeles, CA and the surrounding areas.